Wednesday, March 28, 2012

Another reclaimed wood project.......

I have another one to share. If you guys remember awhile back, Rhett was able to secure some wood from a  fence being torn down around our neighborhood. So......needless to say, we have LOTS of wood, but we actually have LOTS of ideas of what to do with it! Mainly, or my biggest idea...is to do something like this to my craft room wall...of course, my wood will not be white. :) Can't wait to do it!

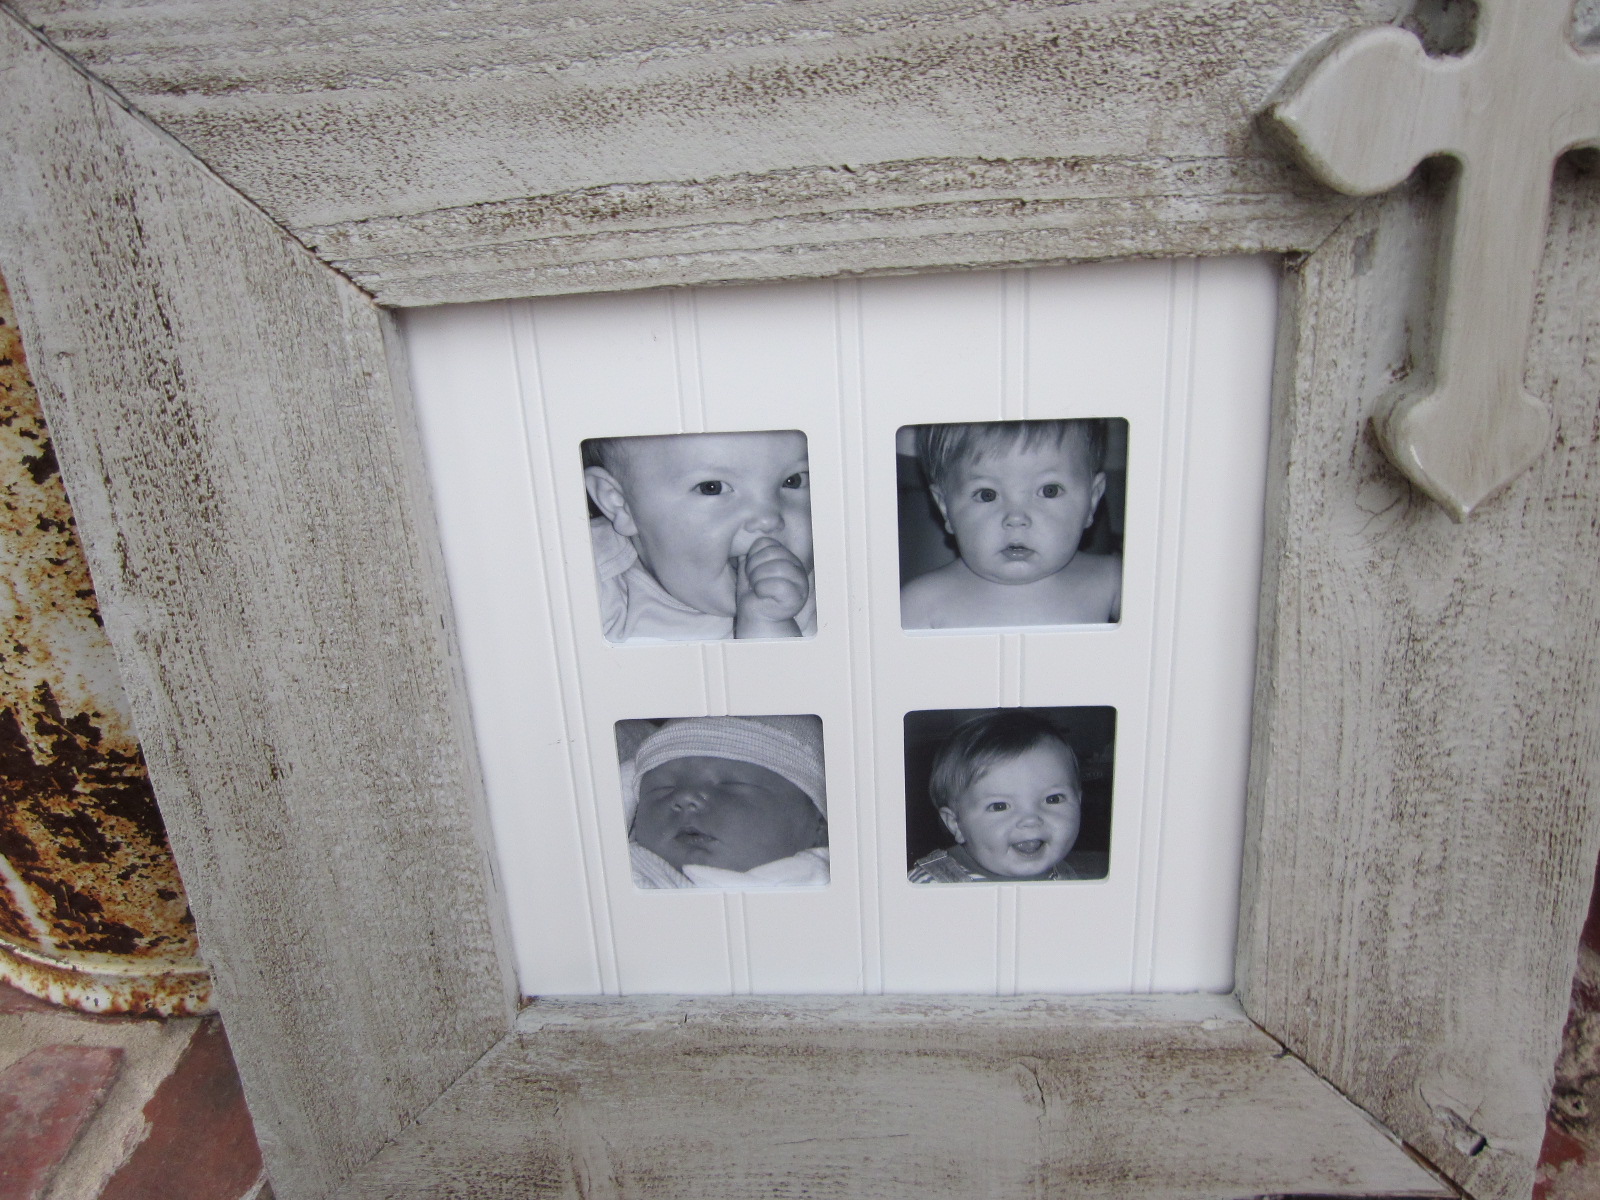
So......I saw this frame in a gift shop awhile back and took a picture of it b/c I KNEW I wanted to try and copy it.

WAY TOO expensive for me and I knew I had those frames Rhett made for me awhile back....so, I grabbed one of the frames Rhett made for me, used a little wood glue and adhered my Hobby Lobby paper mache' cross to the corner.


After it was dry, I found some cheap paint I bought on the 50 cents wrong color rack at Lowe's or Home Depot and painted it. It was a grayish color which I thought would be perfect!


I didn't get a picture, but I added some glaze and then wiped some off with a damp rag.....perfect!

Oh I know what I could add that would be just the right touch. I had a picture insert that had four openings with four pictures of Preston as a baby! The frame/glass had broken awhile back. I didn't take a picture, but I turned the frame over and then nailed the picture in.........I LOOVVEE IT!!!


It looks pretty close to the first one, huh? :) I guarantee you it cost less!!!


PArtying here:
Visit thecsiproject.com


http://www.thistlewoodfarm.wordpress.com/

HookingupwithHoH

Friday, March 23, 2012

From table runner to bench pillow

OK. I have never claimed to be a professional. So....take that into consideration while reading this post. :) Remember, I am frugal at heart so I am always trying to find a way to do something without breaking the bank. :)

Remember this table runner I made awhile back???

I loved it.....but I also wanted a really LLLOONNGGG pillow for my bench on the front porch and didn't want to make another one. :) And here is where I got my thinker on. If this thing was stuffed, it would look like a LLOONNGG bench pillow. Hmmm....and I wonder what I could stuff it with?? I don't want to go out and buy stuffing......hmm. Let me think. Let me look around here....oh, wait,.....first, I ripped the seam open with my handy seam ripper......so I CAN stuff it. :)

Yes...that is plastic bags in there, paper from a shipping box, and the arm to this sweater pillow I made! Ha!!! Whatever it takes. I literally shopped the house for things to stuff in here, and then I let it lay around until I found more things to put in it and when it was stuffed, it was ready to go!! :)


I hot glued it back together. :) Didn't feel like sewing. Then she was ready to go......


Love it. :)

 I LOVED my coffee bag pillow but I wanted MORE from the burlap pillow! :) So I ran inside, stamped the word SIT on it......better. :)
Here she is!!! Makes you want to sit and stay awhile......and use whatever you have to STUFF! HA!

Linking up  to Centsational Girl's Spring Craft Party!!!

Linking to this party:


Visit thecsiproject.com

Sunday, March 18, 2012

My version vs. Pinterest

HI there! Pinterest is awesome! I spend countless minutes/hours on it....probably too many. :) Anyway, I saw this, and thought it would be a GREAT birthday present (albeit very late!) to my friend Shelly in Kentucky. So, I followed her awesome instructions, and ended up with this.
Mine


Theirs

I think it is pretty close! Thanks to Pinterest for the inspiration and to  quietlionsblogspot.com.

Great idea and my friend loved it!!!

I'm partying here........ Visit thecsiproject.com

Thursday, March 15, 2012

Spring mantel.........

I finally finished working on my spring mantel. :) I really like it. I used things I had around here b/c that is always key to me...using what I have....frugal. :) I am trying to bring more green and blue into my room and a little gray as well. Not an easy task when your furniture is BROWN. BUT...I LOVE my furniture and I still love all the dark yellows and red in my house but I thought it might be fun to change it up a bit. 


TAA-DDAHH!!!
 I noticed in the tile surround there was quite a bit of gray so i went for it. I like it. I started with an old brown shutter I had and painted it gray.

 With my 50 cents sample from Lowe's thank-you-very-much. :)
BETTER!!


 The star stays there all the time....I like it. I am in Texas you know. :) The EASTER banner I made last year so I hung that up. Then I grabbed an old crate and an old box I had and turned them on their side....and notice I still have my sweet lights in my "fireplace". The cross on the right is one my sis just gave me for my birthday. I love it. It is lightly covered with moss. Then I put a nest with a glitter egg, some egg "shakers", a western iron star and my burlap "B" picture.

 The blue "B" is an old one i had I painted last year and then glazed when I started my I-want-to-put-more-blue-in-the-room phase. An old screen and an old cabinet door I got at a salvage yard, my Dollar Store Easter egg platter, and then a sweet painting of another cross.....and it's done! The painted cross came from a calendar my sister-in-law gave me awhile back and I could not part with it when the year was over. It has so many beautiful pics of crosses in so many different colors....and I have used almost all of them to decorate in some way!!


Well, it is spring break here so I am going to go enjoy some of this nice weather we are having but I have about 3 or 4 more posts almost ready to go that I will put up soon. If you don't already, please follow me by email or in my LINKY in the right corner! Blessings!

Partying here this week:shabby creek cottage

The Lettered Cottage

Tuesday, March 6, 2012

Fun new project......

Hi there! I wanted to share something I did this past week for my son's kinder teacher.  It was her birthday and I wanted to do something fun for her but something that would not cost a lot.  Aha! I remembered seeing this on Pinterest and I thought that might be a cute idea....plus, I remembered I had TONS of dum-dum suckers I bought on clearance after Halloween!! :)

I bought this little jewel at CVS for like 75% off or something LAST Valentine's day.....or at least I think. It was in my stash of this-is-a-great-deal-so-buy-it-because-you-might-use-it-one-day. :)
Kinda sad, but I knew it could be freshened up! I took off all the cheapy-looking plastic and started from scratch. First, I had all of the kiddos sign the pot. Then I started.

I used the same piece of styrofoam it came with and then I started sticking the suckers in it. All around. Everywhere. :) And it looked like this. :)
I liked it but it was missing something......I knew I was going to write HAPPY BIRTHDAY on the chalkboard spot but it needed some height.  Hmm....I found some tall plastic sundae spoons. NO idea why I have these. Anyway. I thought they would work....a little hot glue on the back of that thing and there you go! :) (Like my neat work area in the background?) I changed the little flower-thing where you put a photo too.  I just added her initial on some scrapbook paper.....better.


Then I attached the two little cute lotion/spray thingies to two other spoons, added a few more dum-dums and wrote happy birthday!!


BACK /SIDE VIEW


She really loved it! Thanks to PINTEREST for the inspiration!

I am linking up here:

Visit thecsiproject.com
Positively SplendidThe Shabby Nest