Hi there! Hope your Easter weekend was wonderful! My father-in-law was in town and we had a great time! It was a beautiful weekend in Texas and it rained Sunday afternoon which, to me, was the end to a perfect weekend!
Last week, a friend of mine asked me to "copy" a design she saw on Pinterest. It was originally done by Sweet Rose Studio and you can visit her blog and see the original photo
here. It was needed for a barn-type wedding in the hill country of Texas....so how perfect will this be???? :)
Isn't the original great? She did a BEAUTIFUL job! I have seen it all over Pinterest! Anywho.....I was up for the challenge! So...I asked my sweet hubby if he would get the wood "ready".....meaning would he cut it, brace it and get the nails out??? :) He is so great. :) Thanks to Papa, too, for lending a hand!
Here is the piece of fence we started with......
The wood is too "old" to be braced with 2 x 4's, which is how the fence is made, so Rhett cut it the size I needed it and the braced it with two 1 x4's. (Don't you love our saw horses??? Ha! That's how we do it in Texas!)
The wood is ready to paint. Since the sign was going to be used outside I didn't treat it with anything. I drew out my heart free hand to see if it would work and I just kept changing it until I got it right!
Then I painted it with regular acrylic paint......just squeezed the paint straight out of the tube and onto the wood and then dry-brushed it on.
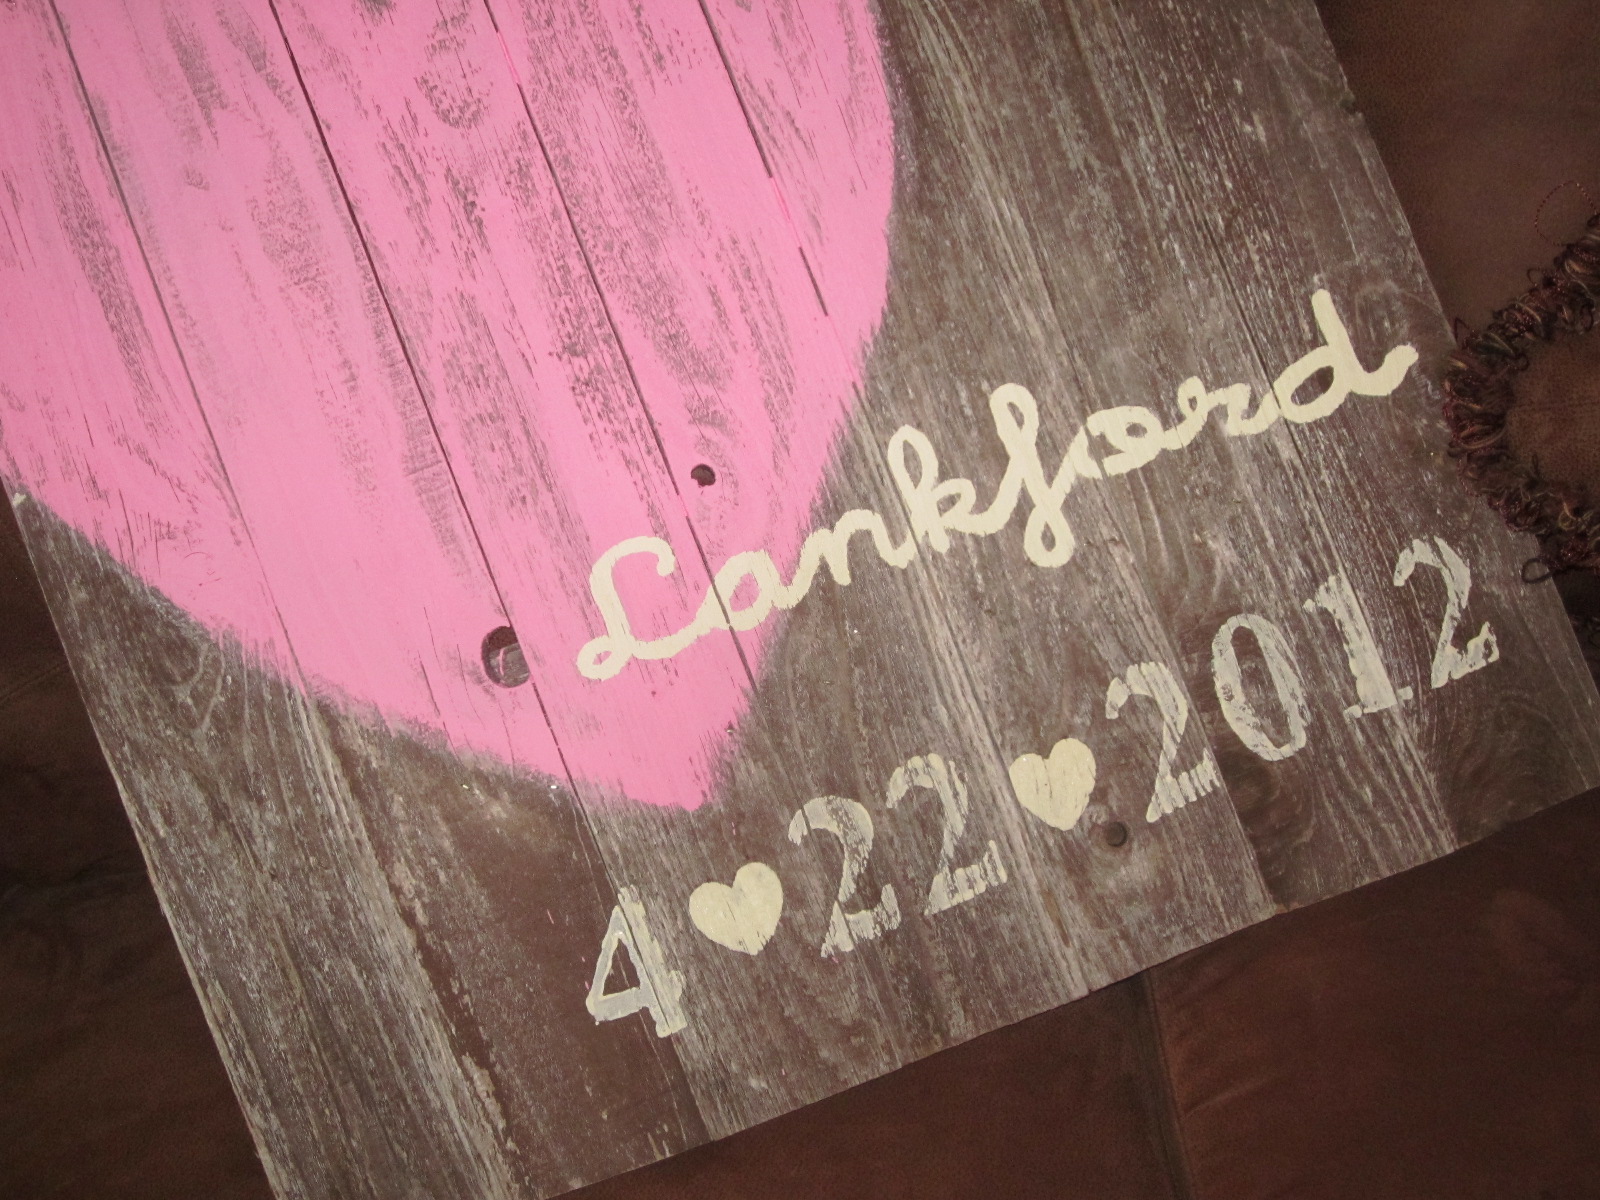
Now it was ready for the lettering. :) I printed the last name in a cursive font. I wanted it to be kind of "fancy". My plan was to then peel off the vinyl and use the negative space to fill it in but it didn't quite work like that. Time for Plan B. I placed the vinyl where I wanted it then traced over it with chalk. Chalk is your best friend when doing this type of project as it will come right off if you mess up. :)
Whew! It worked! I grabbed my antique white acrylic paint and filled the name in.
Then remember the stamps I used in
this post, I thought those would be perfect for the date! I loved the numbers! And then I found a cute little foam heart to stamp in between the date.

You likey?????? I showed my friend who made the request and when I tagged her on Facebook the girl she was making it for (the bride!), saw it and loved it! I was so glad! Thanks again to Pinterest and to Sweet Rose Studios for the inspiration!
UPDATE: Here is the sign below in her wedding!! So glad she loved it!
UPDATE: June 2012
I had such a wonderful reaction to this sign and another one I made I now sell them in my ETSY shop. Please see link in my sidebar if you are interested in purchasing one! :) I have also made the sign below and it (or something similar) is available also. :)
I am linking to the parties below!

Partying here: